
In the field, time is often your most expensive resource. If you have ever tried to install connectors directly onto the end of a fiber cable while perched on a ladder or cramped in a dark telecommunications closet, you know how difficult it can be. Field-terminating connectors is a meticulous, high-pressure process where even a tiny mistake can force you to cut the fiber and start all over again.
This is exactly why most professional installers have moved away from field-termination and toward splicing.
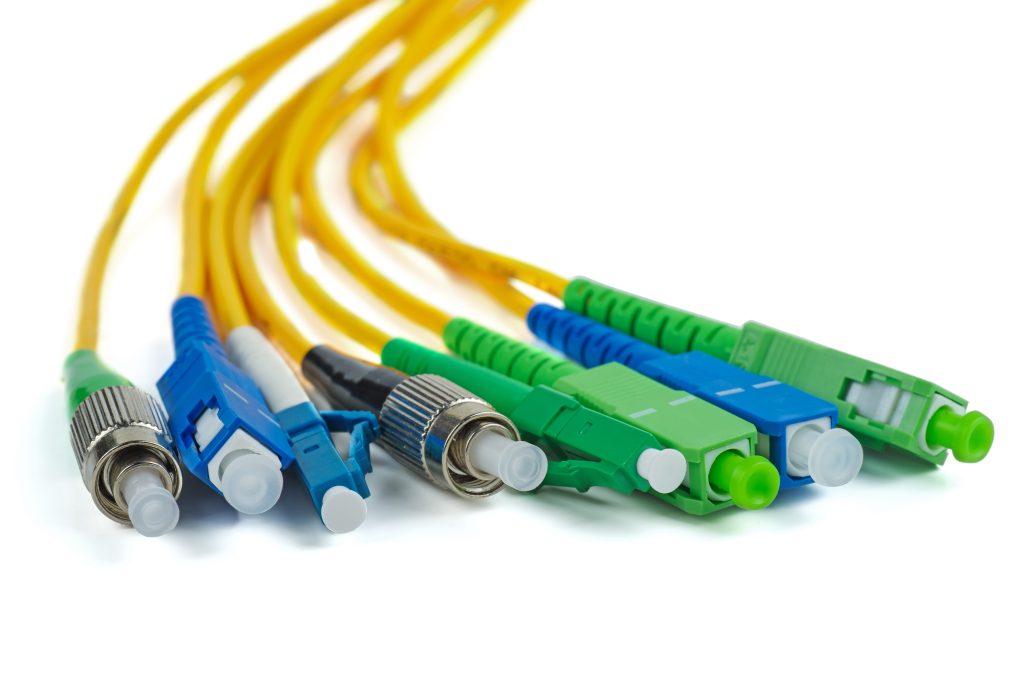
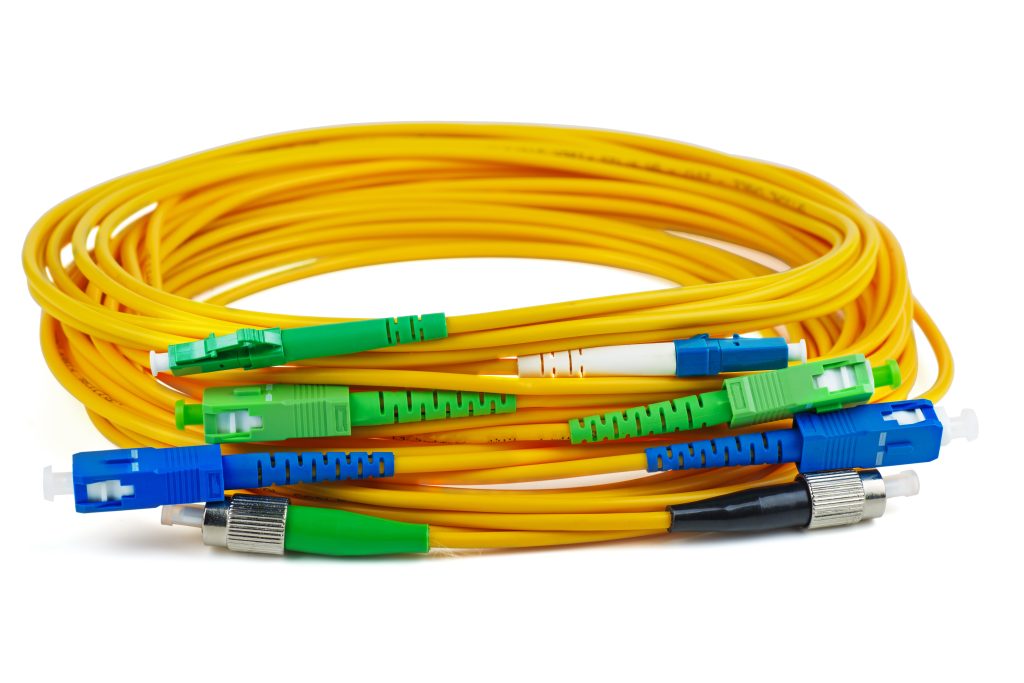
The Smart Solution: Fiber Pigtails
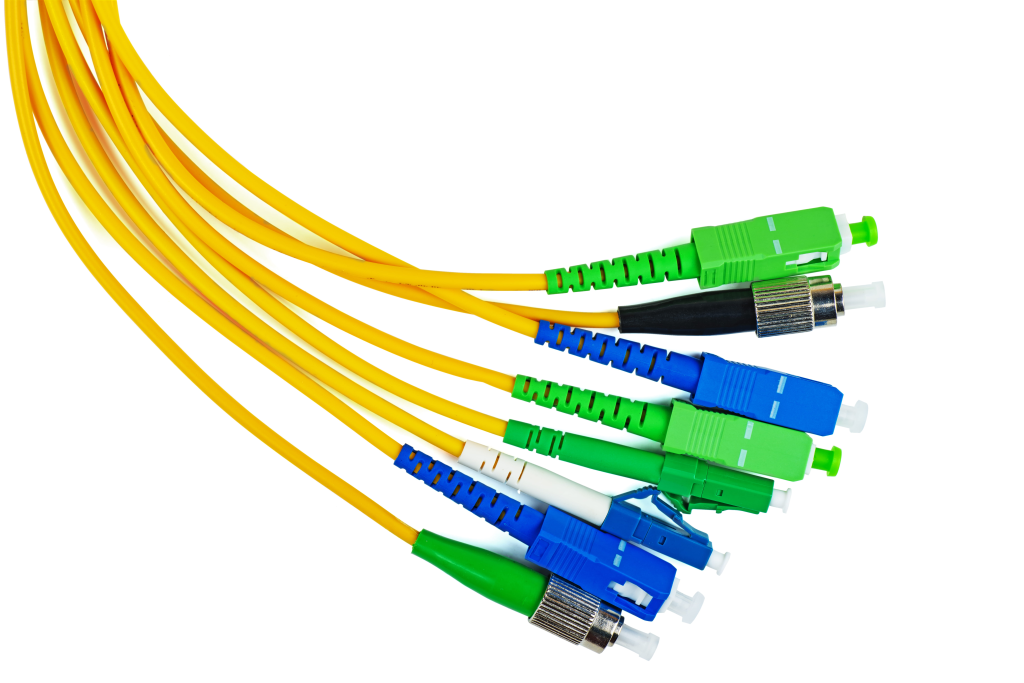
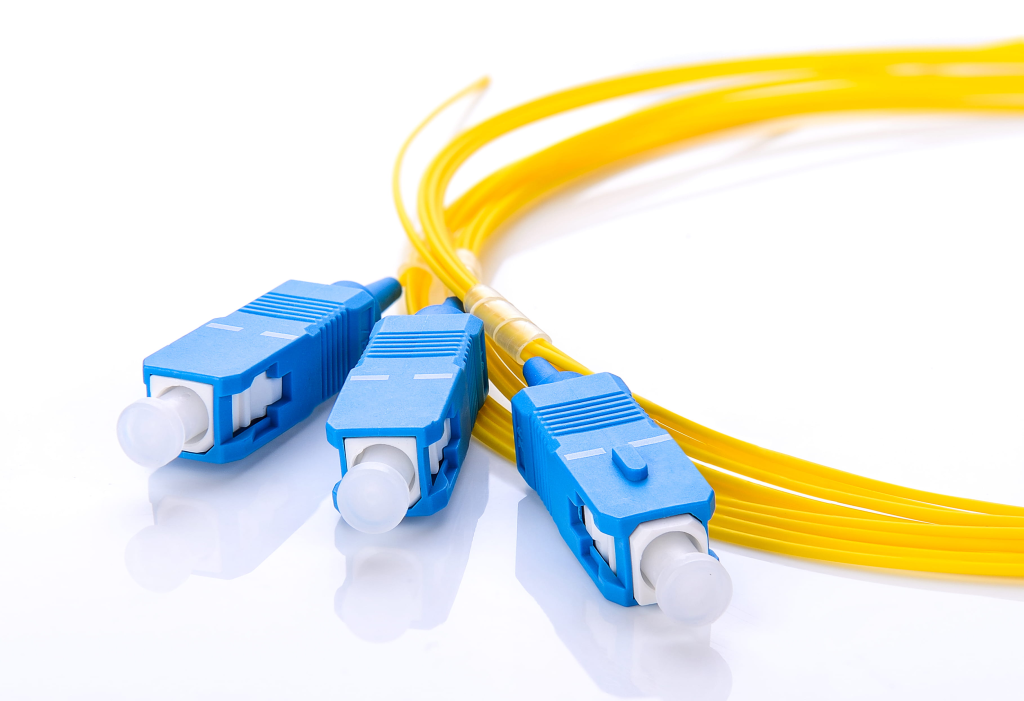
The most efficient way to terminate a fiber run is by using a pigtail. A fiber pigtail is a short length of optical fiber that comes with a high-quality, factory-polished connector already installed on one end, leaving a length of exposed glass on the other. Instead of building a connector from scratch in the field, you simply fuse the “bare” end of the pigtail to your incoming trunk fiber.
By moving the delicate work of polishing and terminating into a controlled factory environment, you ensure a much higher success rate and significantly lower signal loss.
The Amerifiber Edge
At Amerifiber, we’ve spent decades helping technicians streamline their workflows. We know that when you are managing a 12-strand or 24-strand pull, you need components that are organized and ready to install. Our heritage is built on providing precision-grade Multi-Strand Pigtails that are designed to minimize labor costs while maximizing network integrity.
Whether you are working in a data center or on a rural broadband rollout, our goal is to provide reliable hardware that makes your work in the field as smooth as possible.
Tools of the Trade
Before you start the splicing process, you need to have the right kit ready. Fiber optics are incredibly sensitive to dust and poor alignment, so using high-quality tools is the only way to ensure a low-loss connection. If your tools are dirty or dull, even the best pigtail won’t save the link.
The Essentials
To perform a professional fusion splice, you will need the following four items:
- Fusion Splicer: This is the heart of the operation. It uses an electric arc to melt two fiber ends together, creating a single, continuous path for the light.
- Fiber Strippers: These are specialized tools designed to peel away the outer buffer and the microscopic coating of the fiber without scratching or nicking the glass core.
- High-Precision Cleaver: You cannot use scissors or standard snips for this. A cleaver scores the glass and snaps it at a perfect 90-degree angle. This flat surface is what allows the two fibers to fuse seamlessly.
- Cleaning Supplies: You will need lint-free wipes and 99% isopropyl alcohol. Every time you strip a fiber, you must clean it until it “squeaks” to remove any leftover debris or oils from your skin.
Don’t Forget the Protection
Once the fiber is spliced, the glass is extremely fragile. The junction where the two fibers meet has no protective coating, meaning the slightest bend could snap the connection.
This is where heat-shrink splice protection sleeves come in. These are small plastic tubes with a stainless steel strength member inside. You slide the sleeve onto the pigtail before you start the splice. After the fusion is complete, you slide the sleeve over the joint and bake it in the splicer’s internal oven. This creates a rigid, waterproof shield that protects the delicate glass for the life of the network.
Preparation: The Foundation of a Good Splice
A successful fusion splice is won or lost in the preparation phase. If you rush through the stripping and cleaning process, the most expensive fusion splicer in the world won’t be able to fix the resulting errors. You must treat the bare glass with surgical care to ensure the light has a clear path.
Stripping the Buffer
The first step is to remove the protective layers surrounding the glass core. Most pigtails have a 900µm buffer and a 250µm acrylate coating. Using your fiber strippers, remove these layers in small, controlled increments.
The goal is to expose about 30mm of bare glass. You must be careful to use the correct notch on your stripping tool. If the tool nicks the glass, it creates a microscopic fracture that will eventually cause the fiber to snap under the slightest tension.
Cleaning and the “Squeak Test”
Once the glass is bare, it is vulnerable to dust, oils, and even moisture from the air. Even a speck of dust that is invisible to the naked eye can cause a “bubble” or a dark spot in your splice, leading to high signal loss.
Soak a lint-free wipe in 99% isopropyl alcohol and firmly wipe the bare fiber. You should hear a distinct, high-pitched “squeak” as you pull the wipe away. This sound is the hallmark of a truly clean fiber. Once you hear that squeak, do not let the glass touch any surface, including your fingers, before it goes into the cleaver.
Cleaving for Success
The final prep step is the most critical: the cleave. Since the fusion splicer melts the two ends of the glass together, those ends must be perfectly flat and square.
A high-precision cleaver doesn’t actually “cut” the glass. Instead, it makes a tiny score and then applies pressure to cause a clean, vertical break. If the cleave angle is more than one degree off, the splicer will likely reject the fiber or produce a high-loss splice. A perfect 90-degree cleave is the secret to getting those elusive 0.01dB or 0.02dB loss readings.
The Fusion Splicing Process
With your fibers stripped, cleaned, and cleaved, you are ready for the actual fusion. This is the moment where the two separate strands of glass become one. While the machine does the heavy lifting, your role is to ensure the placement is perfect so the technology can do its job.
Perfect Alignment
The first step is loading the fibers into the fusion splicer. You will place the incoming trunk fiber on one side and your Amerifiber pigtail on the other. Most modern splicers use “core alignment,” which means they use built-in cameras to look past the outer cladding and locate the center of the glass where the light travels.
You must ensure the ends of the fibers are close together but not touching. If you see any dust or a jagged edge on the screen at this stage, it is better to stop, re-clean, and re-cleave than to proceed with a flawed setup.
The Arc
Once you hit the start button, the splicer performs a brief “test arc” to burn off any microscopic dust. Then it moves the two fibers into position and applies a sustained electric arc.
This arc generates enough heat to melt the glass ends, fusing them together instantly. Because the machine is aligning the cores so precisely, the resulting joint is almost as seamless as a single continuous strand of fiber. The goal is to create a transition that the light can pass through without even “noticing” a break ever existed.
Understanding Estimated Loss
After the arc is finished, the splicer will inspect the joint and provide an estimated loss reading, usually shown in decibels (dB).
- The Goal: For a high-quality singlemode splice, you should aim for a reading of <0.02dB.
- The Reality Check: If the machine shows a high loss (anything over 0.05dB), or if you see a visible line or bubble in the glass on the display, it is often faster and more professional to break the splice and start over. A few extra minutes of work now saves hours of troubleshooting once the network is live.
Navigating the Fiber Color Code
When you are working with a single fiber, the process is straightforward. However, most professional installations involve cables with 6, 12, or even 144 strands. Without a universal system to identify which fiber is which, a simple patch panel installation would turn into a troubleshooting nightmare.
Organizing Multi-Strand Projects
To keep things organized, the industry follows the TIA-598-A standard. This color-coding system assigns a specific color to each fiber strand within a buffer tube. If you can memorize the first twelve colors, you can identify any strand in a standard cable.
The sequence is as follows:
- Blue
- Orange
- Green
- Brown
- Slate
- White
- Red
- Black
- Yellow
- Violet
- Rose
- Aqua
When you are splicing a 12-strand trunk to a 12-strand pigtail kit, your job is to match these colors exactly. Blue splices to blue, orange to orange, and so on. This ensures that the fiber plugged into Port 1 on the local end actually comes out of Port 1 on the remote end.
Amerifiber Insight
Managing loose fibers can be the most time-consuming part of a technician’s day. To make this easier, Amerifiber offers kits that are pre-organized according to this standard. Instead of hunting through a bag of tangled white cables, our kits come with the colors already in the correct order.
- Singlemode 12-Strand Pigtail Kits: These kits are ideal for long-distance carrier networks where organization is the key to maintaining a massive fiber footprint.
- Multimode 12-Strand Pigtail Kits: Perfect for high-speed data center backbones and enterprise LANs.
By using these pre-sorted kits, you can move down the line strand by strand, significantly reducing the risk of a “crossed fiber” error and speeding up your overall installation time.
Protecting and Organizing the Splice
Once the fusion splicer gives you that successful “green light” and a low-loss estimate, the work isn’t quite over. A bare, fused fiber is incredibly fragile; roughly as strong as a thin strand of sugar. You now need to transition that delicate joint into a rugged, permanent connection that can withstand decades inside a patch panel.
Applying the Heat Shrink
The protection sleeve you slid onto the pigtail earlier is now ready for use. Carefully slide the sleeve over the spliced area, ensuring the fused joint sits in the middle of the stainless steel reinforcement rod.
Transfer the fiber into the splicer’s built-in heating oven. The oven will shrink the outer tubing and melt the inner adhesive, sealing the splice and bonding it to the steel rod. Once the cycle is complete, let the sleeve cool for a few seconds before moving it. This creates a rigid, weather-resistant “skeleton” that prevents the glass from ever bending at the fusion point.
Masterful Tray Management
The final step in the physical installation is “dressing” the fiber into a splice tray. This is where many technicians run into trouble. You cannot simply stuff the excess fiber into the tray; you must loop it so it respects the minimum bend radius.
- Avoid Macro-bends: If a fiber is bent too sharply, the light can actually “leak” out of the core and into the cladding. This is known as a macro-bend. It causes immediate signal degradation and can be difficult to find later.
- The “Figure-Eight” or Large Loop: Most trays are designed to let the fiber loop around the outer edges. This keeps the bends gradual and safe.
- Security: Use the built-in clips in the tray to hold the protection sleeves firmly in place. A well-organized tray should look like a work of art—neat, circular, and free of any tension or crossing lines.
Proper organization doesn’t just look professional; it makes future maintenance possible. If a strand ever breaks or needs to be re-routed, a neatly organized tray allows you to identify and access that specific fiber without disturbing the rest of the network.
Testing Your Work
The splice looks perfect on the screen, and the tray is neatly organized, but you aren’t finished until you verify the light is actually reaching its destination. Testing is the only way to prove to your client (and yourself) that the link meets the required performance standards.
VFL Check: The Quick “Light Check”
The Visual Fault Locator (VFL) is a technician’s best friend for immediate verification. This tool sends a visible red laser through the fiber.
- The Goal: You want to see the red light glowing brightly at the far end of the connector.
- The Warning Sign: If you see red light leaking out of your splice sleeve or glowing inside the splice tray, you have a problem. This “light leak” indicates a bad splice, a micro-bend, or a break in the glass. A VFL is perfect for catching major errors before you close up the enclosure.
OTDR Testing: The Final Word
While a VFL tells you if light is passing through, an Optical Time Domain Reflectometer (OTDR) tells you how well it is passing through. This is the gold standard for fiber certification.
The OTDR sends pulses of light down the fiber and measures the reflections that bounce back. It provides a detailed “trace” or map of the entire cable run. For a spliced pigtail, the OTDR will show you the exact loss (in dB) at the splice point and the reflectance of the factory connector.
This test is critical because it identifies “hidden” issues that a VFL might miss, such as a high-loss splice that still allows some light to pass but will cause data errors under load. Providing an OTDR report is the ultimate way to build authority and trust with your customers, proving that the Amerifiber components and your installation work are top-tier.
Why Quality Pigtails Matter
A common mistake in the field is assuming that the fusion splicer can compensate for low-quality components. While a high-end machine can join almost any two pieces of glass, it cannot fix a poorly manufactured connector. A perfect splice is essentially wasted if the factory-terminated end of the pigtail has a scratched ferrule, poor concentricity, or inconsistent polish.
When you use premium pigtails, you ensure that the “fixed” side of your connection is as reliable as the fused side. High-quality pigtails provide:
- Consistent Geometry: Ensuring the fiber core is perfectly centered in the connector, which prevents alignment issues when plugging into adapters.
- Reliable Polishing: Factory-grade UPC or APC polishing that meets strict return loss standards, which is nearly impossible to replicate by hand in the field.
- Durability: Robust 900µm buffering that can withstand the stripping and routing process without snapping.
At Amerifiber, we specialize in providing the high-performance components that make these results possible. We understand that your reputation as an installer depends on the long-term stability of the networks you build. By combining your splicing skills with our precision-tested pigtails, you create a network that is built to last.
Speed up your next project with reliable components. Don’t leave your network integrity to chance with generic hardware. Shop Amerifiber’s Multi-Strand Pigtail Kits for high-performance terminations that save you time and reduce your re-work rate.