
Fiber patch panel sizing comes down to two numbers: how many rack units you have to work with, and how many ports you need today plus room to grow. Get either one wrong and you’re either short on space in six months or paying for empty slots you’ll never fill.
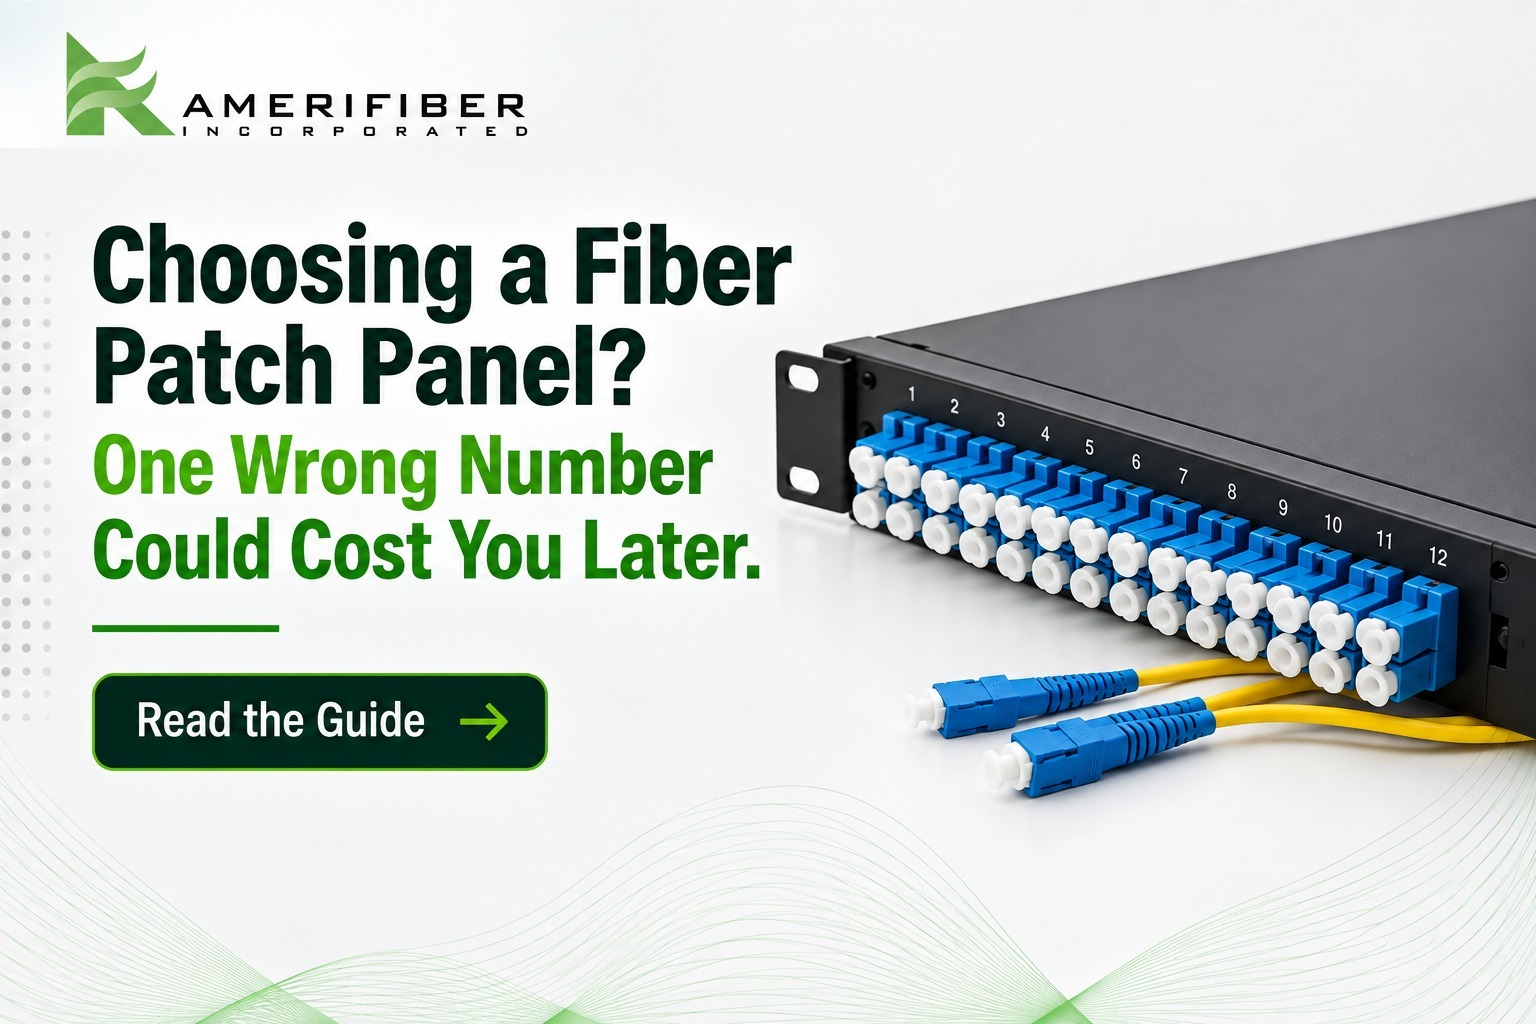
A patch panel is the interface point where your incoming fiber cables terminate and connect to your equipment. Simple concept. The mistake most people make isn’t understanding what it does. It’s sizing it like they’re buying shoes, guessing at a number that “feels right” instead of doing the math.
Rack Mount or Wall Mount: Decide This First
Before you get into panel capacity and rack-space planning, figure out where this thing lives.
Rack mount if you’ve got a standard 19-inch rack, a data center, a network closet with real infrastructure. Rack mount fiber panels integrate directly into your existing rack and scale cleanly as you add more equipment.
Wall mount if you’re in a smaller telecom room, a remote site, or anywhere a full rack doesn’t make sense. Wall mount fiber enclosures handle lower port counts without eating floor space you don’t have.
Don’t force a rack mount panel into a site with no rack. I’ve seen techs bolt brackets to drywall to make it work. It works, until someone bumps it.
How Many Rack Units Do You Actually Need?
This is where fiber patch panel sizing gets real. A standard rack is 42U. That’s your ceiling, and you’re sharing it with switches, servers, power equipment, and whatever else lives in that rack.
Patch panel capacity varies by enclosure design and adapter configuration, so don’t treat rack units as a fixed formula for port count. A 1U panel might hold 24 LC ports, 48, or well past that in a high-density configuration. Manufacturers pack density differently depending on the adapter cassettes they use. Larger housings, 2U and up, give you more capacity and, just as important, more room for cable management.
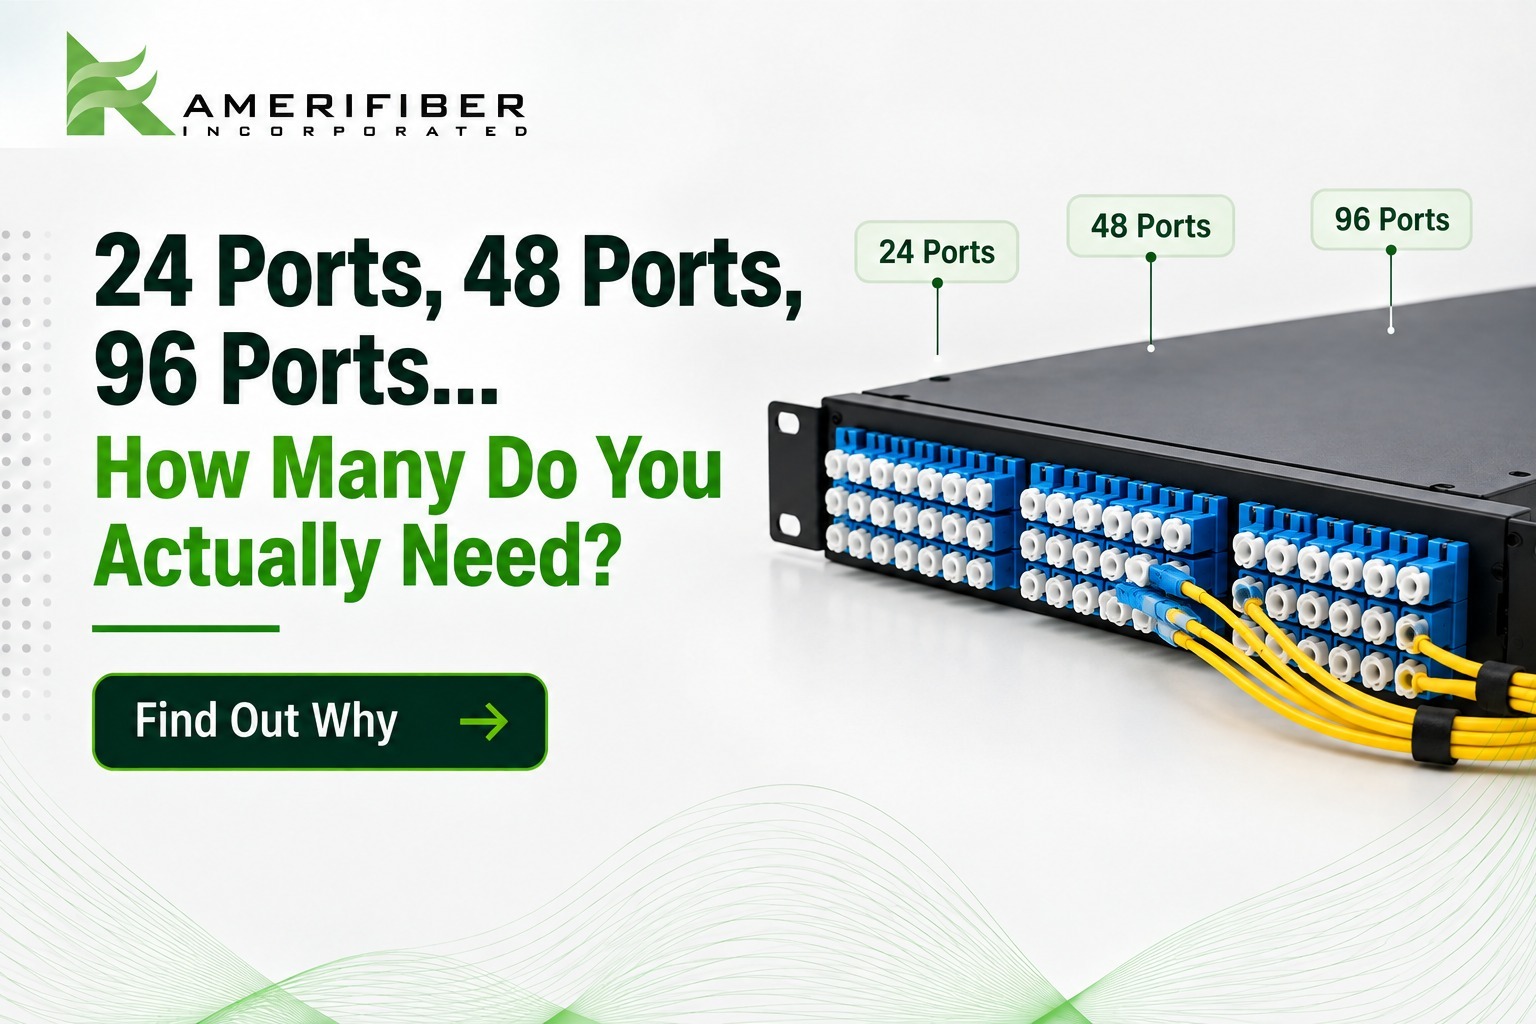
Say you’re working with a 42U rack that already has switches, servers, and power equipment installed. Before choosing a panel, calculate the actual RU space you have left and reserve room for future gear, not just today’s list. If your fiber count requires 96 connections, compare 2U and higher-density 1U options based on more than just the port number. Look at cable access, how easy it is to add or remove jumpers later, and whether the layout supports proper bend radius.
RU sizing isn’t about minimizing rack units today. It’s about not running out of them tomorrow.
Port Count vs. Fiber Count: Know What You’re Buying
Here’s where a lot of buyers get tripped up. Manufacturers describe capacity in different terms: ports, adapters, duplex connections, or total fibers. A panel listed as “48 fibers” and one listed as “48 LC ports” are not the same thing. A duplex LC connection uses two fibers, so a 48-fiber panel typically gives you 24 duplex LC connections, not 48.
Always check the actual product specification before comparing panels across brands. Don’t assume “port” means the same thing on every spec sheet.
How Many Ports Do You Need: Today and in 3 Years
Count your current fiber runs. Then count what you’re planning to add over the next 2 to 3 years. Then add a growth buffer on top, for the stuff nobody planned for. Twenty to 25% is a reasonable starting point for most installs, though larger or fast-growing deployments may need more.
That’s patch panel port count in three steps. Most people skip step three and regret it.
Imagine an ISP building out a new subdivision. They size the patch panel for exactly the homes on day one. A year and a half later they’ve added more drops than they planned for and they’re out of room. Now they’re pulling a second panel, re-splicing, and explaining downtime to a customer who just wants their internet back.
Compare that to sizing with a buffer built in from the start. A little more upfront cost. Zero disruption later.
Here’s the tradeoff nobody tells you: more ports usually means more RU, or a tighter, higher-density panel. Cramming a high port count into a small footprint can make cable management and access genuinely difficult. If you’re stacking 96-plus connections into a 1U footprint, make sure the panel actually gives you room to route cable, maintain bend radius, and make future moves without a fight.
Browse fiber patch panels by port count and RU to see what’s actually available before you commit to a number.
LC vs SC vs MPO: Connector Choice Changes Your Capacity
Your connector type isn’t a side detail. It drives your whole port count math.
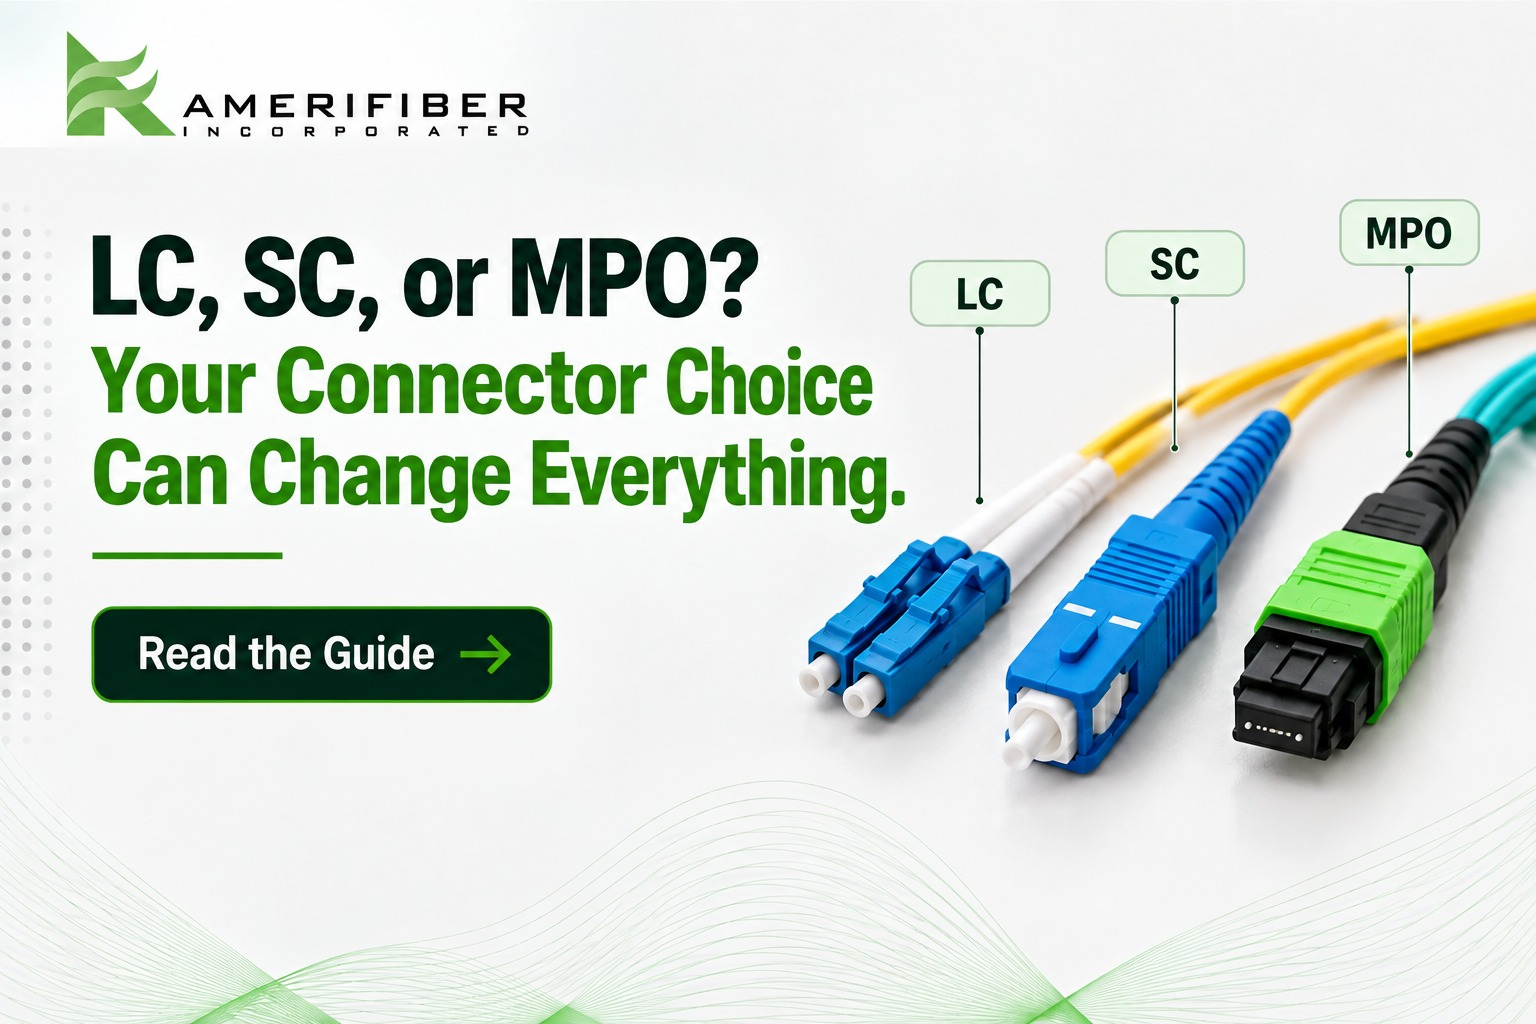
- LC: small form factor, duplex, the standard for high-density installs. You’ll fit significantly more ports than SC in the same footprint.
- SC: larger, simplex or duplex, still common in older installs and some carrier handoffs. Lower density, easier to work with by hand.
- MPO: multi-fiber push-on connectors used for high-density trunk cables and pre-terminated assemblies. Depending on the configuration, a single MPO connector can terminate multiple fibers, commonly 8, 12, or 24.
An LC vs SC patch panel decision usually comes down to what’s already deployed at the site. Mixing connector types on a new build for no reason just creates inventory headaches later. Match what’s already there, or standardize on LC if you’re building fresh and want the density.
Also verify fiber type and connector polish, singlemode versus multimode, UPC versus APC, before you order adapters or panels. Getting the connector type right and the polish wrong still means a panel that doesn’t work for your application.
Check adapter plates and singlemode adapter plates to match connector type, port count, and fiber mode to your exact build.
Rookie Mistakes That Cost Real Money
- Sizing for today only.
No growth buffer means a second install job within a year. - Ignoring adjacent rack space.
A panel that fits now might not fit once someone else adds equipment above or below it. - Mixing connector types without a reason.
Creates spare parts chaos and slows down every future tech who touches the rack. - Comparing panels by port count alone.
Two “48-port” panels from different manufacturers can mean different things. Check the spec sheet.
FAQs
What is a fiber optic patch panel?
It’s a mounted panel where incoming fiber cables terminate on one side and connect to network equipment on the other, using adapter ports. It’s your organized handoff point, not a splice point.
What’s the difference between a patch panel and a fiber enclosure?
A patch panel is generally the interface where fiber connections are organized and presented for patching. A fiber enclosure or housing is a broader term that can include termination, splicing, and protection. Some are rack-mounted for indoor data centers and telecom rooms, others are built for outdoor or outside-plant applications.
How many rack units does a fiber patch panel need?
It depends on the panel design, connector type, port density, and how much room you need for cable management. Many standard installs fit in 1U, while higher-capacity or easier-to-manage configurations may call for 2U or more.
Can I mix LC and SC ports on the same patch panel?
Technically yes, with modular adapter plates. Practically, it’s a headache to manage and label. Standardize where you can.
Get the Sizing Right the First Time
Fiber patch panel sizing isn’t something you want to eyeball. If you’re not sure whether you need a 1U or a 4U panel, or whether your port count covers you for the next three years, talk to someone who sizes these for a living.
Contact Amerifiber or call 866-518-5858 and we’ll walk through your rack, your port count, and your growth plan before you order anything.